
Container Gardens
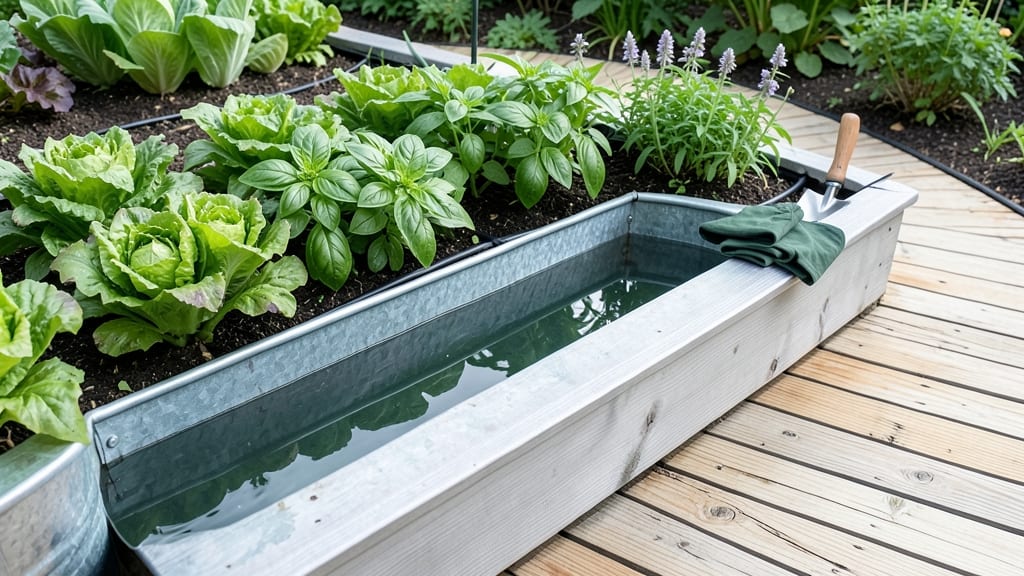
Repurposing old water troughs into raised garden beds turns unused space into a thriving, space-efficient garden that’s both practical and stylish.
Small yards don’t mean small harvests—transforming old water troughs into raised garden beds is a clever way to grow more in less space while adding rustic charm to your garden.
Whether you’re dealing with a tiny balcony or a narrow backyard, these containers can double your planting area without the bulk of traditional raised beds.
Beyond saving space, water trough garden beds offer better drainage and warmer soil in cooler months, giving plants a head start. Plus, they’re a sustainable way to reuse materials instead of buying new planters.
The key? Choosing the right layout, soil mix, and plants to make the most of their unique shape.
In this guide, I’ll walk you through 5 space-saving designs, how to prep your troughs for planting, and the best low-maintenance crops to grow—so you can start harvesting sooner than you think.
How to convert water troughs into functional raised garden beds
Old water troughs can transform into stunning, space-efficient raised garden beds perfect for small yards or urban balconies. With their durable construction and rustic aesthetic, these containers offer a unique growing solution that’s both practical and visually appealing.
The key to success lies in proper preparation—ensuring adequate drainage, structural stability, and a nutrient-rich soil mix tailored for container gardening.
Before diving into the project, gather essential supplies like a drill, landscape fabric, gravel, high-quality potting soil, and optional reinforcement materials such as metal brackets or wooden planks.
Whether you’re using plastic, metal, or wooden troughs, the principles remain the same: prioritize drainage holes and soil depth to support healthy plant growth. Let’s turn those empty troughs into thriving gardens!
-
Step 1: Clean and Inspect
Remove any debris or residue from the trough. Check for cracks, rust, or structural weaknesses. For metal troughs, sand rough edges and apply a rust-proof coating if needed.
-
Step 2: Drill Drainage Holes
Use a drill to create 1–2 inch holes in the bottom of the trough. Space them evenly for optimal water flow. Place a drainage mat or landscape fabric over the holes to prevent soil from washing out.
-
Step 3: Add a Gravel Layer
Fill the bottom 2–3 inches with coarse gravel or small rocks. This layer improves drainage and prevents root rot in shallow containers.
-
Step 4: Layer with Landscape Fabric
Cover the gravel with landscape fabric to keep soil in place while allowing excess water to drain. Secure the edges with staples or rocks.
-
Step 5: Fill with Soil Mix
Use a lightweight, well-draining potting mix blended with compost for nutrients. Avoid garden soil—it compacts and drains poorly in containers.
-
Step 6: Reinforce for Stability
For heavy troughs, add wooden planks or metal brackets underneath to distribute weight. Place the bed on a stable surface or elevated stand if needed.
-
Step 7: Select Compact Plants
Choose shallow-rooted plants like herbs, lettuce, or strawberries. Avoid deep-rooted varieties—they’ll struggle in limited space.
-
Step 8: Water and Mulch
Water thoroughly after planting and apply mulch to retain moisture. Monitor soil moisture closely—containers dry out faster than in-ground beds.
One of the biggest challenges with water troughs is their limited soil depth, typically 6–12 inches. To maximize growing space, opt for shallow-rooted plants like basil, radishes, or dwarf tomatoes.
If you’re using a long trough, consider dividing it into sections with internal dividers to create separate planting zones. This keeps roots from competing and makes maintenance easier.
Metal troughs can heat up quickly in the sun, which may stress plants. To mitigate this, place them in partial shade or paint the exterior with a light-colored, heat-reflective paint.
For wooden troughs, seal them with a non-toxic wood preservative to extend their lifespan and prevent rot. Regularly check for signs of wear and reinforce weak spots as needed.
Don’t overlook the aesthetic potential of your new garden beds! Paint the troughs in earthy tones or leave them natural for a rustic look. Add decorative stones, solar-powered lights, or climbing vines to enhance the charm.
With a little creativity, your water trough garden beds will become a standout feature in any yard.
Once your troughs are transformed, monitor them closely during the first few weeks. Overwatering is a common pitfall—containers drain quickly, so check soil moisture daily. Adjust your watering schedule based on weather conditions and plant needs.
Within a few weeks, you’ll see lush growth and a satisfying harvest from your repurposed garden beds!
For long-term success, replenish nutrients every few months with a balanced, slow-release fertilizer. This ensures your plants have the energy they need to thrive in their compact growing space. With proper care, your water trough garden beds will yield bountiful harvests year after year.
5 Space-saving water trough garden bed layouts for small yards
Small yards can still produce big harvests when you think vertically and creatively. Water trough raised garden beds are perfect for maximizing space in urban gardens, balconies, or tight corners.
Their rustic charm pairs beautifully with modern designs while providing deep soil for root growth. The key is arranging them strategically to optimize sunlight, access, and airflow.
I’ve designed five layouts that work for different spaces—whether you have a sunny patio, a shady corner, or limited floor area. Each setup uses repurposed troughs (plastic, metal, or wood) to create functional growing zones without sacrificing style.
The best part? Most require minimal tools and can be rearranged seasonally to follow the sun.
My favorite layout for urban balconies is the vertical stack—it maximizes square footage by placing troughs on top of each other. Use sturdy brackets to secure them, and plant shallow-rooted crops like lettuce or basil in the top troughs where they’ll get the most light.
For shady areas, try the tiered corner design with succulents or peppers, which thrive with indirect sunlight.
If you have a sunny patio, the side-by-side row is ideal for vining plants like cucumbers or beans. Place the tallest plants on the north side to avoid shading shorter crops.
For hanging spaces, repurpose old troughs into planters—just add drainage holes and use them for trailing herbs or flowers. The spiral design works well in small circles of space, creating a visually striking focal point while allowing easy access to all plants.
Remember to group plants with similar water and sunlight needs together. For example, pair herbs like thyme with drought-tolerant succulents in one trough, and keep moisture-loving lettuce separate. Adding a self-watering system (like a drip line) will save time and keep roots happy, especially in hot climates.
With these layouts, you’ll transform even the tiniest space into a productive garden oasis!
🌱