
Picking
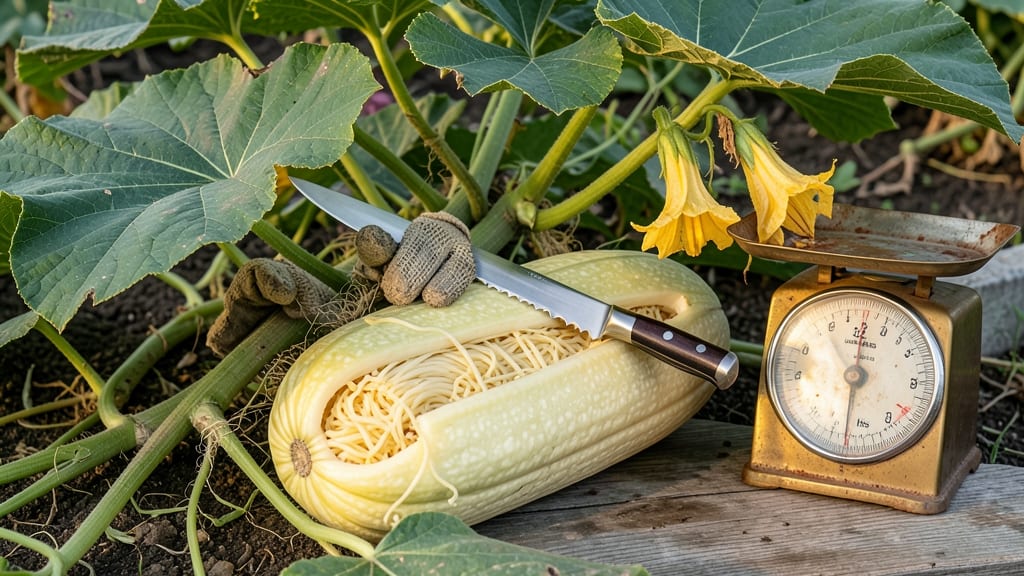
Harvesting spaghetti squash from the garden at the right time means the difference between tender, pasta-like strands and tough, unpalatable fibers 🎃 — and the key is knowing when to pull it from the vine.
Picture this: you’ve waited months for your spaghetti squash to mature, only to slice into it and find it still hard or woody. That’s the moment you realize timing was everything.
The good news? With just a few simple checks, you can avoid this disappointment and enjoy squash that’s perfectly ripe.
Most varieties reach harvest readiness 80-100 days after planting, but climate and soil conditions can shift that window. In Zone 6a, that typically lands in late September or early October, but heatwaves or cool spells can push it earlier or later.
The real secret? Watching for three telltale signs: a dull yellow skin, a hardened stem, and vines that start to yellow.
Below, I’ll walk you through those three tenderness tests—plus how to store your harvest so it stays fresh for weeks. No more guesswork, just perfect pasta-like texture every time.
How to identify the perfect harvest time for spaghetti squash
Timing your spaghetti squash harvest correctly transforms your garden into a culinary treasure trove. Waiting too long results in woody, stringy strands, while harvesting too early gives you underdeveloped, watery flesh.
The key lies in watching for three essential visual cues—skin color, stem changes, and vine behavior—that signal peak maturity.
First, focus on the skin color transformation. Young spaghetti squash boasts a bright green hue, but as it matures, the skin gradually fades to a dull yellow or tan. This color shift indicates the starch content is perfect for that al dente texture we all crave.
Pro tip: Check the skin near the stem end first, as this area often changes color slightly earlier.
Next, examine the stem end where the squash connects to the vine. A ripe spaghetti squash will show a hardened, yellowish-brown stem that feels dry to the touch.
If you gently twist the stem, it should snap cleanly rather than tear, which means the squash has fully detached from its nutrient supply and is ready for harvest.
Don't overlook the vine condition—this is your final confirmation. When 70-80% of the vines begin to yellow and die back, it's a clear sign that the plant is redirecting energy to mature its fruit.
However, wait until most vines have yellowed before harvesting, as premature vine death can sometimes indicate stress rather than true maturity.
Size matters too! A fully mature spaghetti squash typically weighs between 3 to 8 pounds, with a diameter of 10-12 inches. While larger squash can be delicious, they often have more seeds and thicker rinds.
For the best tender strands, aim for squash on the smaller end of this range—around 4-6 pounds.
Here's where many gardeners go wrong: they rely solely on days after planting rather than visual cues. While spaghetti squash typically matures in 80-100 days, environmental factors like temperature fluctuations or water stress can delay or accelerate this timeline. Always cross-reference days with physical signs to avoid disappointment.
One common mistake is harvesting when the skin develops soft spots or signs of rot. These are clear indicators that the squash has overstayed its welcome in the garden. If you notice dark, mushy patches or mold growth, remove it immediately to prevent disease spread to other plants.
Climate plays a surprisingly large role in harvest timing. In warmer climates (Zones 9-11), spaghetti squash may mature 2-3 weeks earlier than in cooler regions (Zones 3-7).
If you're in a shorter growing season, consider planting fast-maturing varieties like 'Golden Spaghetti' or 'Tivoli' to ensure you get a harvest before first frost.
For container growers, pay extra attention to root growth and pot size. Spaghetti squash needs ample root space—at least 5-gallon containers for mature plants.
If roots are circling the pot or the plant looks stunted, it may struggle to produce high-quality fruit, making accurate harvest timing even more critical.
🎃 Spaghetti Squash Harvest Readiness Checklist
| Maturity Cue | What to Look For | Action |
|---|---|---|
| Skin Color | Dull yellow or tan (vs. bright green) | Check near stem end first |
| Stem Condition | Hardened, yellowish-brown, snaps cleanly | Twist gently to test |
| Vine Health | 70-80% yellowed and dying back | Wait until majority shows signs |
| Size & Weight | 10-12" diameter, 3-8 lbs (ideal: 4-6 lbs) | Smaller = more tender strands |
| Days After Planting | 80-100 days (varies by climate) | Cross-check with visual cues |
💡 Pro Tip: Harvest in the morning when squash is cool and firm for best storage life.
If you're growing spaghetti squash in extended-season areas, you might get lucky with a second harvest if some vines produce late-season fruit. However, these later squash often have thicker skins
3 Simple tenderness tests to avoid overripe or underripe squash
Harvesting spaghetti squash at the right moment ensures that tender, pasta-like strands instead of tough, woody fibers. Even experienced gardeners sometimes struggle to determine the perfect harvest window, but these three simple tests will help you nail it every time.
The key is testing firmness and maturity before cutting the vine—because once you pick too early or too late, you’re stuck with less-than-perfect results.
Overripe squash develops stringy, bitter flesh while underripe squash stays hard and unyielding. The good news? You don’t need fancy tools—just your hands, eyes, and a few basic techniques. Start by examining the vine and skin, then move to physical tests like the nail test or thump test.
These methods work for both butternut squash and spaghetti varieties, making them versatile for your garden.
- 1 Nail Test: Press a fingernail into the squash skin. If it dents easily but doesn’t puncture, it’s ready. A hard surface means it’s underripe; a soft, mushy feel signals overripeness.
- 2 Thump Test: Give the squash a firm knock with your knuckles. A hollow, deep sound means it’s ripe. A dull thud suggests underripeness, while a thud with no echo means it’s past its prime.
- 3 Vine Check: Look for yellowing vines and dried-up leaves near the fruit. If the vine has started to die back naturally, it’s a strong sign the squash is ready. Avoid harvesting if the vine is still green and actively growing.
For the nail test, focus on the squash’s side rather than the stem end, as the skin there can be thicker. If you press too hard and the nail goes in easily, the squash is likely overripe.
The thump test is especially useful for larger squash varieties, where visual cues might be harder to spot. Combine these tests with observing the skin color change from green to a dull yellow or tan for the most accurate results.
Timing matters too—harvest spaghetti squash in the morning after dew has dried. This reduces the risk of fungal issues and ensures the fruit is at its firmest. Once harvested, store your squash in a cool, dry place (around 50-55°F) for up to two months.
If you’re unsure, err on the side of harvesting slightly early; squash continues to ripen off the vine but won’t recover if overripe.
Pro tip: Mark your planting date and use a garden journal to track when your squash typically reaches maturity. Most varieties take 80-100 days to harvest, but factors like climate and soil quality can shift this window.
By mastering these tenderness tests, you’ll consistently enjoy squash with the perfect texture and flavor every season.
Don’t let guesswork ruin your harvest—use these tests to confidently pick your spaghetti squash at peak tenderness. Your future pasta dishes will thank you! 🎃