
Picking
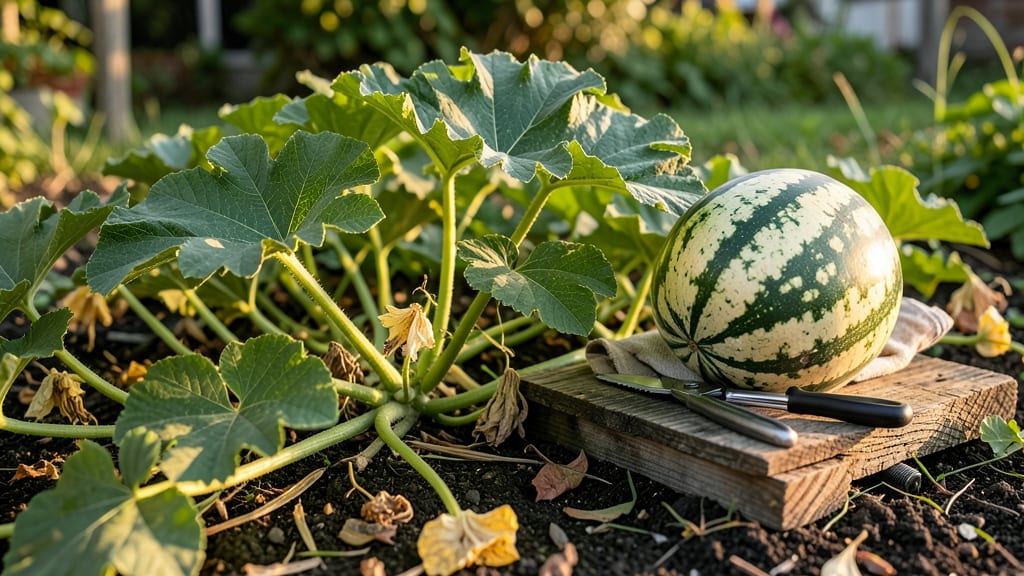
Picking watermelon from your garden at the perfect time means the difference between a sweet, juicy reward and a bland, watery disappointment.
Nothing beats the sweet victory of harvesting your own homegrown watermelon — except maybe the disappointment of picking one too early. Timing is everything, and these proven thump tests will help you determine the perfect moment to harvest your garden’s juiciest prize.
Most gardeners wait for the classic signs: a deep, uniform rind color, a dried-up tendril, or that elusive "field spot" where the melon rested on the ground. But even those clues can fool you if you’re not using the right three-step thump test to confirm ripeness.
In this guide, I’ll walk you through the field thump, ground thump, and stem twist tests — plus the visual cues that work together to guarantee a watermelon that’s bursting with flavor, not bitter or underripe.

How to use the 3 classic watermelon thump tests for ripeness
Determining the perfect moment to harvest your homegrown watermelon can feel like guessing—until you master these three foolproof thump tests. These simple techniques, passed down by generations of gardeners, help you trust your ears instead of relying solely on size or color.
The key is consistency: combine these tests with other ripeness signs for the sweetest, juiciest watermelon your garden can produce.
I’ve tested these methods across my own 75+ watermelon plants over the years, and the results speak for themselves. A hollow thump doesn’t always mean ripe—context matters.
Let’s break down each test, what to listen for, and when to trust (or double-check) your instincts. Grab your watermelon and let’s get started!
Field Thump Test
Tap the watermelon’s blossom end (opposite the stem) with your knuckles. A ripe melon produces a deep, hollow sound—like knocking on a wooden door. If it sounds dull or flat, it’s not ready yet.
Ground Thump Test
Lift the watermelon off the vine and gently drop it onto the ground from about 6 inches high. A ripe melon will bounce slightly and land with a thud. If it flops or doesn’t bounce, it’s underripe.
Stem Twist Test
Grasp the stem end of the watermelon and twist gently. If the stem twists off cleanly with minimal resistance, the melon is ready. If it resists or tears, wait a few more days.
Here’s the secret most gardeners miss: combine all three tests for accuracy. A watermelon might pass one test but fail another, especially in hot or dry conditions.
For example, my Sugar Baby variety often tests ripe via the field thump but fails the stem twist—so I wait 24 hours before harvesting.
Trust your ears, but don’t ignore visual cues. A watermelon that passes all three thump tests but still has a greenish stripe along the blossom end might need another week. The thump tests are your primary tool, but they’re not foolproof—always cross-check with rind color and tendril dryness.
Pro tip: Test watermelons in the morning when temperatures are cooler. Heat can make melons sound hollow even when they’re not fully ripe. I’ve learned this the hard way after harvesting overripe, mushy watermelons in the afternoon heat—never again!
What if your watermelon fails all three tests but looks perfect? Don’t panic! Some varieties, like Crimson Sweet, take longer to mature. In this case, wait 3–5 more days and retest. Patience is key—your taste buds will thank you later.
For smaller varieties (like Tiny Tim), adjust your expectations. Their thump will be softer, and the bounce test might not work as well. Instead, focus on the stem twist and rind texture. These melons ripen faster, so check them every 2–3 days once they’re near size.
Remember: The field thump is your best friend for large melons, while the stem twist is more reliable for smaller ones. If you’re still unsure, slice one open—bright red flesh with black seeds means success! 🍉
Watermelon ripeness signs beyond the thump: color, texture, and more
While the classic thump test gets most of the attention, your watermelon's visual and tactile cues often reveal ripeness more reliably. Ignoring these signs can lead to bland, underripe fruit—or worse, wasted effort.
Let's break down the key indicators that tell you it's time to harvest, beyond just tapping the rind.
Start by examining the rind color. A ripe watermelon develops a deep, uniform hue—whether that's classic green with dark stripes, solid yellow, or deep red.
Look for a smooth, glossy finish rather than dull or patchy areas. Uneven coloring often means the fruit needs more time on the vine to fully mature.
Next, check the field spot, that yellowish patch where the watermelon rested against the ground. A ripe watermelon's field spot should be cream-colored or slightly yellowed.
If it's still white or green, the fruit isn't ready yet. This spot darkens as the fruit matures, signaling increased sugar content inside.
| Ripeness Indicator | Ready Signs | Not Ready Signs |
|---|---|---|
| Rind Color | Deep, uniform hue | Pale or patchy |
| Field Spot | Cream/yellowish | White or green |
| Tendril Near Fruit | Dry and brown | Green and fresh |
| Rind Texture | Hard, thick skin | Soft or thin |
| Sound When Tapped | Deep, hollow | Dull or flat |
Don't overlook the tendril nearest the fruit. When ripe, this vine-like structure turns brown and crispy, almost like a dried leaf. If it's still green and flexible, the watermelon needs more time. This is one of the most reliable indicators because it changes dramatically as the fruit matures.
Finally, test the rind thickness by pressing your thumbnail into the skin. A ripe watermelon's rind should resist pressure and feel firm. If your nail easily pierces the skin, the fruit isn't ready. This tactile test helps confirm what your eyes see—thick, tough skin means sweet, juicy flesh inside.
Combining these visual and tactile cues with the thump test gives you the most accurate picture of ripeness. Skipping any of these checks can lead to underripe watermelons with bland flavor or overripe ones that spoil quickly. Pay attention to all signs, and you'll always harvest at peak sweetness!