
Picking
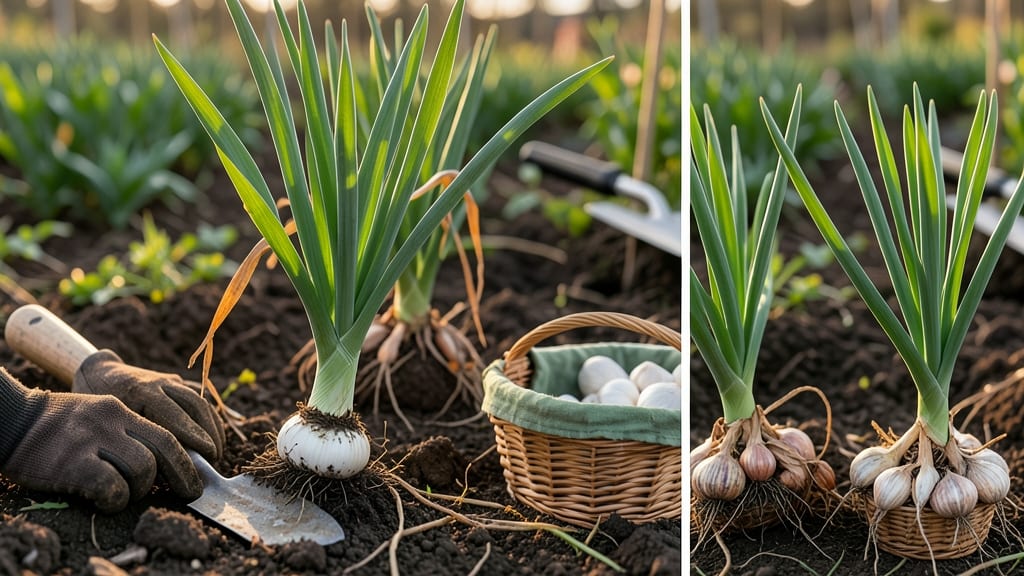
To pick garlic from garden at the perfect time means catching it when the bulbs are plump, flavorful, and ready to store—before they rot or shrivel in the soil.
Garlic lovers know that harvesting at the wrong time can turn your hard work into bitter disappointment—underripe bulbs won’t store well, while overripe ones fall apart.
But here’s the good news: with just three visual cues, you’ll never miss the window again. We’re talking about the moment when the lower leaves turn brown and crispy, the bulbs feel firm when you squeeze them, and the papery skins around the cloves start peeking through.
Below, I’ll walk you through exactly how to spot these signs, plus how to handle the harvest, cure, and store your garlic for months of flavor. No guesswork, just perfectly timed results every season.


3 Visual cues to identify perfect garlic harvest time
Timing your garlic harvest correctly is the difference between storing bulbs that last all winter and ending up with soft, moldy cloves. The key lies in watching for three specific visual signals that tell you your garlic is ready to pull.
These cues work for both hardneck and softneck varieties, though hardnecks often ripen slightly earlier in the season.
Many gardeners wait too long, assuming garlic needs more time in the ground. But once your plants show these signs, leaving them any longer risks bulb deterioration and pest attraction. The good news? These visual clues are impossible to miss once you know what to look for.
-
1. Lower Leaves Turn Brown and Dry
Look for the bottom 3-4 leaves to brown first while upper leaves stay green. This indicates the bulb is maturing but still needs warmth to finish. -
2. Paper Skins Form Around Cloves
Gently brush away soil to check for white, papery skins between cloves. These form as the bulb matures and protect storage quality. -
3. Stalks Begin to Flop Over
When the flowering stalk (scape) or main stem leans dramatically, it signals the bulb is nearly ready. This happens 2-3 weeks before full ripeness.
Pro tip: Test one bulb by digging up a single plant when you see these signs. If the bulb feels firm and the cloves are plump, your entire crop is ready. If not, wait another week and check again.
Regional differences matter too. In warmer climates (Zones 8-10), garlic may show these signs as early as June, while in cooler zones (Zones 3-6), you might not see them until late July or August. Always harvest before the first frost to avoid bulb damage.
One common mistake is waiting until all leaves turn brown. By then, the bulb may start to split or attract pests. The ideal time is when 50-60% of leaves have browned—this preserves both flavor and storage life.
After harvesting, let bulbs cure in the sun for 3-5 days to toughen the skins. This step is crucial for preventing rot during storage. Place them in a well-ventilated, dry area with temperatures between 60-70°F.
Remember: Hardneck varieties often ripen 1-2 weeks earlier than softnecks. If you're growing both, monitor each type separately for these visual cues to avoid mixing harvest times.
With these three visual cues—browning leaves, paper skins, and flopping stalks—you'll never second-guess your garlic harvest timing again. Happy digging! 🧄
How to test garlic ripeness: the 3-Step physical check
When your garlic plants start showing signs of maturity, it’s time to put those visual cues to the test with a simple physical check. This hands-on method ensures you’re harvesting at the perfect moment—when bulbs are plump, flavorful, and ready for storage.
The best part? You can test just one plant to avoid damaging your entire crop while confirming ripeness.
Start by selecting a healthy-looking plant from the outer edges of your garlic bed. This minimizes disruption to the center of your crop. Use a garden fork or trowel to gently loosen the soil around the base, being careful not to pierce the bulb itself.
This test dig gives you a risk-free way to check ripeness without committing to a full harvest just yet.
Gently pull the plant and examine the lower leaves. If 50-60% are brown and dry while the top leaves remain green, your garlic is ready. If most leaves are still green, wait 1-2 weeks before testing again.
Peel back the soil to expose the bulb. A ripe garlic bulb should feel firm and solid when gently squeezed. If it feels soft or spongy, it’s not ready—wait another week. Overripe bulbs will feel hollow or collapse easily.
Separate the cloves and check for paper-like skins forming around each one. These skins indicate the bulb has matured enough for storage. If cloves are still tightly wrapped in green layers, they need more time in the ground.
If your test bulb passes all three checks, it’s time to harvest your entire garlic crop. But what if your garlic isn’t showing the right signs? Climate variations can delay ripening—especially in cooler regions.
In this case, wait until the upper leaves turn brown (though the bulb may be slightly smaller). Hardneck varieties often ripen earlier than softneck types, so adjust your timing accordingly.
Once you confirm ripeness, harvest within 2-3 days to prevent overmaturation. Use a fork to lift bulbs carefully, then let them cure in the sun for 3-5 days before storing. Proper curing extends shelf life and preserves flavor—so don’t skip this step!
Now that you’ve mastered the physical check, you’ll never second-guess your garlic harvest again. With this method, you’ll consistently pull bulbs at their peak—ready for braiding, storing, or sharing with fellow gardeners. Happy digging! 🌱