
How To
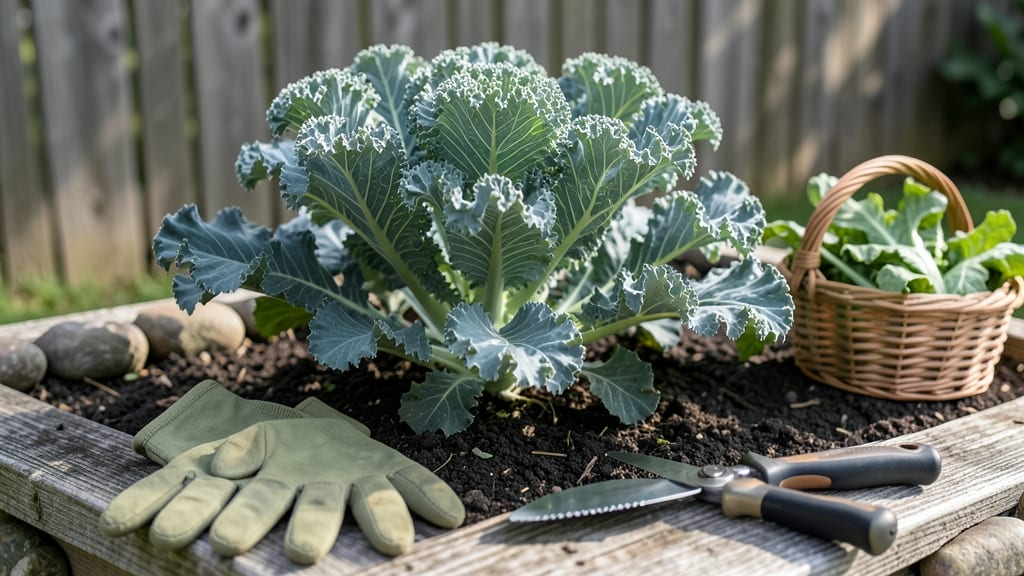
To pick kale from your garden at the perfect moment means harvesting crisp, flavorful leaves that keep coming back—if you know what to look for.
Harvesting kale at the right time ensures crisp, flavorful leaves—but many gardeners miss the subtle visual cues that signal peak readiness. Learn how to spot these three key indicators before your 🥬 bolts or turns bitter.
Start by checking leaf size: mature leaves should be 6-8 inches long, firm to the touch, and vibrant in color. If they’re still small or pale, give them more time.
Below, I’ll walk you through the exact steps to harvest without damaging your plant, plus pro tips to keep your kale producing all season long.


3 Visual cues to identify perfectly ripe kale for harvesting
Harvesting kale at the wrong time can leave you with bitter, tough leaves or wasted effort. The key to flavorful, crisp kale lies in recognizing three visual maturity cues that most gardeners overlook.
These subtle signals tell you exactly when to harvest for optimal texture and taste—before your plant bolts or becomes woody.
First, pay attention to the leaf color. Perfectly ripe kale boasts deep, vibrant green leaves (or rich purple/red for heirloom varieties). Pale or yellowing leaves mean your kale is underripe or stressed, while leaves turning dull grayish-green signal overmaturity and bitterness.
This color cue is your first line of defense against harvesting mistakes.
Next, examine the stem thickness. Ready-to-harvest kale has firm, bendable stems—thick enough to hold their shape but not woody. If stems feel mushy or hollow, your kale is underdeveloped.
Conversely, stems that are hard and brittle indicate overgrowth, making the leaves tough and unpalatable. Run your thumb along the stem to test its resilience.
Finally, check the leaf size and development. Mature kale leaves should measure 6-8 inches long, fully unfurled with smooth edges. Smaller leaves (3-4 inches) are underripe, while leaves that are curling or yellowing at the edges have passed their prime.
The center leaves should remain tight and compact—a sign the plant still has growth energy for future harvests.
| Indicator | Underripe Kale | Perfectly Ripe Kale | Overripe Kale |
|---|---|---|---|
| 🌿 Leaf Color | Pale green Yellowing edges Dull appearance |
Deep green Vibrant purple/red (heirloom) Uniform color |
Grayish-green Yellow patches Brown spots |
| 🌱 Stem Thickness | Soft Mushy Hollow |
Firm Bendable Not woody |
Hard Brittle Woody |
| ✂️ Leaf Size | 3-4 inches Underdeveloped Curled edges |
6-8 inches Fully unfurled Smooth edges |
Large but tough Curling edges Yellowing |
| 📅 Plant Maturity | Young plant Loose center Slow growth |
Mature plant Tight center Continuous growth |
Old plant Bolting risk Stunted regrowth |
Heirloom varieties like Lacinato (Dinosaur) or Red Russian kale add extra visual complexity. Their purple or red hues deepen as they mature, but the same stem firmness and leaf size rules apply. For example, Red Russian kale should have deep crimson stems and frilly, dark green leaves at peak ripeness.
Timing your harvest based on these cues prevents two common pitfalls: bolting (when kale flowers prematurely) and woody stems. Bolting turns leaves bitter and stringy, while woody stems make even young leaves tough.
By harvesting when leaves are 6-8 inches long and stems are firm but flexible, you ensure a steady supply of tender, flavorful greens.
Pro tip: Harvest outer leaves first, leaving the inner leaves and growing point intact. This encourages continuous regrowth for weeks or even months.
When you remove just a few leaves at a time, your kale plant keeps producing fresh, crisp harvests throughout the season—no need to pull the whole plant!
For fall harvests, prioritize these visual cues before the first frost (around October 30 in most USDA Zone 6a regions). Kale can tolerate light frosts, but hard freezes damage the plant.
If your kale is still underripe when frost approaches, cover plants with row fabric to extend the growing season by 2-3 weeks.
Remember: Perfectly ripe kale is your reward for paying attention to these three visual signals. When you combine deep color, firm stems, and mature leaf size, you’re guaranteed a harvest that’s crisp, sweet, and packed with nutrients. Now grab those shears and enjoy the harvest! ✂️
Best practices for harvesting kale without damaging the plant
Harvesting kale correctly keeps your plants productive and healthy for months. The key is selective harvesting—removing only the outer leaves while leaving the inner growth intact. This method encourages continuous regrowth and prevents stress on the plant.
I’ve found that timing matters just as much as technique, especially in cool-season varieties that thrive in mild weather.
Start harvesting when your kale reaches 6-8 inches in length, with leaves that are firm and deep green. Younger leaves are tender, but waiting too long risks woody stems or bolting—when the plant sends up a flower stalk.
For a steady supply, I harvest every 2-3 weeks throughout the growing season, adjusting frequency based on weather and plant vigor.
✂️ Pro Tip: How to Pick Kale Without Harming the Plant
- Use clean pruners or your fingers to grasp the outer leaves near the base of the stem.
- Avoid tearing—cut or twist leaves gently at a 45-degree angle to prevent damage to the growing center.
- Leave 2-3 inner leaves to keep photosynthesis active and the plant producing new growth.
This method ensures your kale plant stays healthy and productive for weeks, even in cooler months.
For large leaves, I recommend using sharp pruning shears to make clean cuts. This reduces the risk of disease entering through jagged tears. Always sterilize your tools with rubbing alcohol between harvests to prevent bacterial or fungal infections.
I’ve noticed that harvesting in the morning, when leaves are dry, also minimizes stress on the plant.
Seasonal timing plays a critical role in maximizing your harvest. In spring and fall, when temperatures are mild, kale grows rapidly and can handle more frequent harvesting.
During hot summers, reduce harvesting to every 3-4 weeks to let the plant recover. Overharvesting in heat can cause bolting or stunted growth.
After harvesting, I always inspect the plant for pests or diseases. Remove any damaged leaves immediately to prevent spread. A light application of compost or compost tea around the base can boost recovery.
With proper care, a single kale plant can provide continuous harvests for 6-8 weeks or longer, depending on your climate.
Remember, the goal is to balance harvest and regrowth. By following these steps, you’ll enjoy crisp, flavorful kale all season long without sacrificing plant health. Happy harvesting! 🌱