
Picking
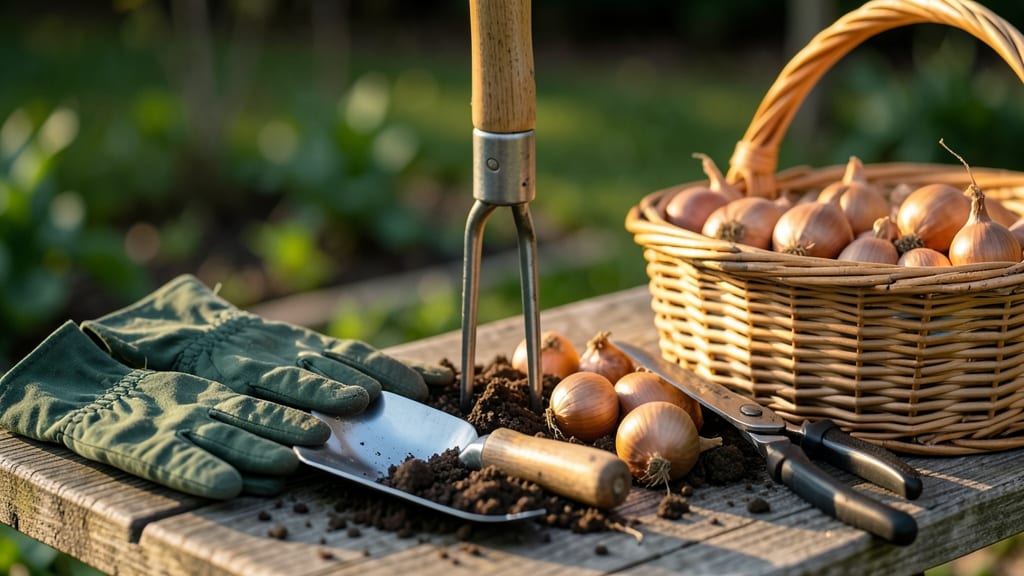
Harvesting shallots from your garden at the right moment unlocks their richest flavor and longest storage life—but timing is everything.
Picture this: your 🧅 shallots are thriving in Zone 6a, the tops are turning golden, and you’re itching to pull them up. Wait too long, and you’ll end up with shriveled bulbs.
Harvest too early, and they won’t have developed their signature sweetness. The key is knowing when those papery skins signal peak readiness—and how to dig them without damage.
In late summer or early fall, when the leaves begin to yellow and flop, your shallots are begging to be harvested. This guide breaks down the exact visual cues, step-by-step digging techniques, and post-harvest care to keep them fresh until next spring.
No more guesswork—just a bountiful harvest ready for cooking or replanting.
You’ll also discover the three biggest mistakes gardeners make (like overwatering or skipping the cure) and how to avoid them. By the end, you’ll harvest shallots like a pro—every time.


When to harvest shallots for optimal flavor and storage potential
Harvesting shallots at the perfect moment ensures maximum flavor, longer storage life, and higher yields. Unlike onions, shallots mature gradually, so timing is everything.
If you harvest too early, you'll get small, pungent bulbs with poor storage potential. Too late, and they'll split or rot in the ground.
For most gardeners in USDA Zone 6a, the ideal harvest window falls between late August and early September, about 120 days after planting. However, this can shift slightly based on your climate and variety. Watch for these key visual cues to know when your shallots are ready.
| Harvest Indicator | What to Look For | Action Required |
|---|---|---|
| Top Color | 50-70% yellowing with some brown tips | Check bulb size and firmness |
| Bulb Size | 1.5-2 inches in diameter (baseball-sized) | Dig a test bulb to confirm maturity |
| Leaf Condition | Mostly flopped over, not fully dead | Harvest within 3-5 days to prevent splitting |
| Skin Texture | Dry and papery, not rubbery or moist | Cure immediately after harvesting |
| Weather Cue | Dry spell forecast for 3-5 days | Harvest before rain to prevent rot |
Harvesting too early results in small, pungent bulbs that store poorly. These shallots will lack the sweet, mellow flavor they develop as they mature. On the flip side, waiting too long risks split bulbs or fungal infections from moisture in the soil.
Split shallots won't store well and may spoil quickly.
Your local climate plays a huge role in timing. In cooler regions, aim for harvest in early September before the first frost. Warmer climates may extend the window into October, but never let temperatures drop below 40°F (4°C)—this can damage bulbs in the ground.
For storage purposes, prioritize harvesting when bulbs are firm but still have some green tops remaining. This indicates they've reached full maturity without becoming overripe. Store them in a cool, dark place with good airflow to extend their shelf life for up to 6 months.
If you're unsure about timing, dig up one test bulb from each plant when tops turn 50% yellow. Cut through the bulb to check for a thick, dry neck—this is your cue that the rest are ready. This method prevents harvesting too early and wasting your efforts.
Weather conditions also influence harvest timing. Avoid digging after heavy rain, as wet soil makes bulbs more prone to damage. Instead, wait for a dry, sunny day when the soil is slightly firm. This ensures cleaner harvests and easier curing later.
Remember that shallot varieties can vary slightly in maturity. French varieties like Grey Grano may take 10-15 days longer than Creamba or Ambassador. Always check seed packets for specific harvest windows and adjust your timing accordingly.
For long-term storage, the best shallots are those harvested when tops have yellowed but not fully died. These bulbs develop thicker skins that protect against rot during storage. Store them in mesh bags or hanging nets to allow airflow and prevent moisture buildup.
Step-by-step shallot harvesting techniques to preserve bulbs
Now that your shallots are ready for harvest—those yellowing tops and firm bulbs signaling peak maturity—it’s time to dig with care. The way you harvest can make or break your storage life and flavor quality, so follow these proven techniques to preserve your hard-earned crop.
Gather your tools: a sharp garden fork, pruning shears, and a baking sheet lined with paper towels. Avoid using a shovel, as it can bruise the bulbs. Work on a dry, sunny day when soil is loose, making it easier to extract shallots without damage.
Step-by-Step Shallot Harvesting Guide
- Step 1: Gently loosen soil around shallot plants with a garden fork, inserting it 2 inches away from bulbs to avoid piercing them.
- Step 2: Lift bulbs carefully by their green tops, shaking off excess soil. Avoid pulling by the stems, which can snap and leave bulbs in the ground.
- Step 3: Trim leaves and roots to 1-2 inches above the bulb using pruning shears. This prevents moisture loss during curing and reduces rot risk.
- Step 4: Lay shallots on a baking sheet in a single layer, ensuring bulbs aren’t touching. Place them in a dry, shaded spot with good airflow for 2-3 weeks to cure.
- Step 5: Once bulbs are completely dry (skin papery and necks shriveled), store them in mesh bags or braided nets to maintain airflow and prevent spoilage.
Pro tip: If you’re storing shallots long-term, consider braiding them—this traditional method keeps bulbs elevated and dry, reducing rot. Use twine or string to weave 3-5 shallots together, leaving the cured necks intact.
Never store shallots in plastic bags or sealed containers, as this traps moisture and accelerates spoilage. A cool, dark pantry (around 50-60°F) is ideal, where they’ll keep for 4-6 months if handled correctly.
For extra flavor, save a few bulbs to replant next season! The green tops can also be chopped and used like scallions in cooking until the bulbs are fully cured.