
Fertilization
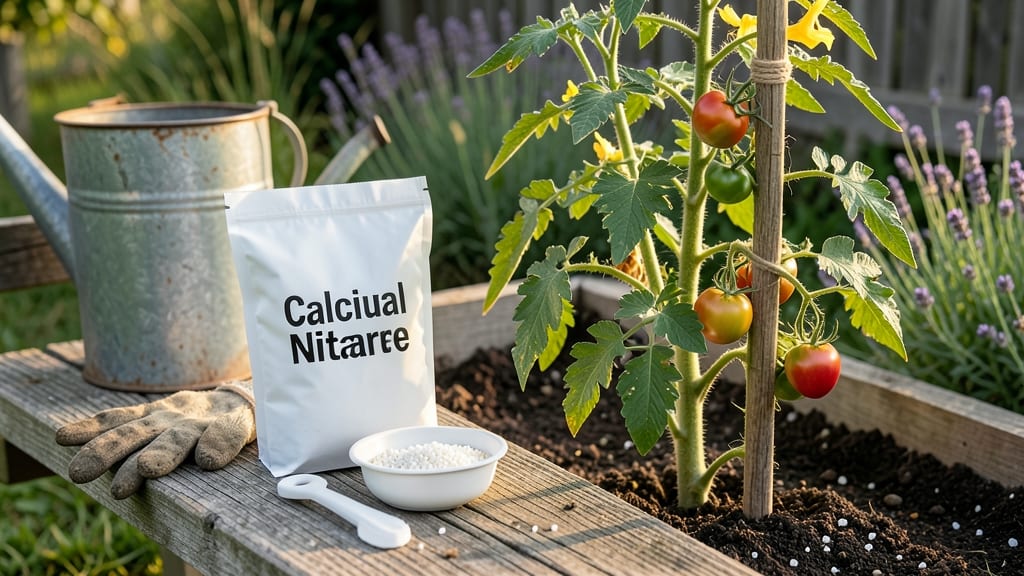
Garden tomatoes need calcium to prevent blossom end rot and keep stems strong 🍅—without it, your harvest can turn sour before it even ripens.
Picture this: you’ve nurtured your tomato plants all season, only to find dark, sunken spots on the bottom of your fruit. That’s blossom end rot, a classic sign of calcium deficiency, and it’s more common than you think.
The good news? A simple calcium boost can fix it fast and keep your plants thriving.
But not all calcium sources are equal. Some work quickly to stop rot, while others build long-term soil health. I’ll walk you through the best organic options—like crushed eggshells and lime—plus how to apply them for the best results without overdoing it.
By the end, you’ll know exactly how to prevent this frustrating problem, so you can enjoy a bountiful, rot-free harvest from July through October.
Why calcium deficiency causes blossom end rot in tomatoes
Calcium isn’t just a building block for strong bones—it’s the backbone of your tomato plants too. When your garden tomatoes lack this essential mineral, they develop blossom end rot, a common but preventable issue that turns the bottoms of your fruit into mushy, dark spots.
This problem isn’t just about aesthetics; it directly impacts your harvest’s quality and quantity. Understanding why calcium deficiency happens is the first step to saving your tomatoes before they hit the rot stage.
At the cellular level, calcium acts like a glue, strengthening cell walls and helping plants transport nutrients efficiently. Without enough calcium, your tomato plants struggle to maintain structural integrity, especially in fast-growing fruit.
This deficiency often appears when new growth outpaces the plant’s ability to absorb calcium from the soil. The result? Weak spots that crack open, inviting rot and disease. The good news is that correcting this issue is simpler than you might think.
| Symptom | Description | Early Signs | Action |
|---|---|---|---|
| Blossom End Rot | Dark, sunken spots on fruit bottoms | Yellowing near stem | Apply calcium spray immediately |
| Leaf Curl | Young leaves curl upward | Stunted growth | Test soil pH (ideal: 6.0-6.8) |
| Weak Stems | Floppy or brittle stems | Slow fruit development | Add gypsum to soil |
| Root Issues | Poor root development | Wilting despite water | Use crushed eggshells |
One of the biggest myths about calcium deficiency is that it’s purely a soil issue. While soil pH plays a critical role—calcium becomes less available when soil is too acidic or alkaline—other factors like inconsistent watering can trigger the problem too.
When tomato plants experience drought stress followed by sudden heavy watering, calcium uptake slows dramatically. This creates a perfect storm for blossom end rot, especially in fast-growing varieties like 'Early Girl' or 'Cherry Tomatoes'.
You might also notice leaf curling or distorted new growth when calcium levels drop. These symptoms occur because calcium helps regulate cell division and expansion. Without it, your plant’s cells can’t maintain their shape, leading to those telltale curled leaves.
The key to catching this early is monitoring your plants regularly, especially during periods of rapid growth or after transplanting.
Soil pH is another silent saboteur when it comes to calcium availability. Tomatoes thrive in slightly acidic to neutral soil with a pH between 6.0 and 6.8. Outside this range, calcium binds tightly to soil particles, making it inaccessible to your plants’ roots.
If your soil is too alkaline (high pH), you might see calcium deficiency symptoms even when plenty of calcium exists in the soil. Testing your soil annually is a simple way to catch this issue before it affects your harvest.
Even if your soil has plenty of calcium, uneven distribution can still cause problems. For example, container-grown tomatoes often suffer from calcium deficiency because the root zone is limited. In these cases, using a calcium-rich fertilizer like calcium nitrate can provide an immediate boost.
The same goes for heavy feeders like 'Beefsteak' tomatoes, which demand more nutrients than lighter varieties.
Don’t overlook the role of temperature in calcium uptake. Cool soil temperatures (below 60°F) slow down root activity, reducing the plant’s ability to absorb calcium. This is why early-season tomatoes often show deficiency symptoms.
If you’re growing in cooler climates, consider using a mulch layer to keep soil temperatures stable and roots active.
One of the fastest ways to see results is by applying a calcium spray directly to your tomato plants. Mix 1 tablespoon of calcium nitrate in a gallon of water and spray it on the leaves and stems.
This method bypasses the soil and delivers calcium straight to where it’s needed most. For a more natural approach, crushed eggshells work wonders when worked into the soil before planting or sprinkled around the base of mature plants.
Remember, prevention is always easier than cure. Start by amending your soil with organic matter like compost or well-rotted manure before planting. This improves soil structure and makes calcium more available to your tomato roots.
Pair this with consistent watering—aim for 1-2 inches of water per week—to keep calcium moving efficiently through the plant. With these steps, you’ll be well on your way to a rot-free tomato harvest.
Best calcium sources for tomatoes: fast fixes vs. long-term solutions
When your tomato plants show signs of blossom end rot, you need calcium—fast. But not all sources work the same. Quick fixes like foliar sprays or crushed eggshells provide immediate relief, while soil amendments like gypsum or lime build long-term calcium reserves.
Your garden type (container vs. in-ground) also changes what you should use and how often.
For container gardens, fast-acting solutions like calcium nitrate or Epsom salt are ideal because they dissolve quickly in water. In-ground gardens benefit more from slow-release amendments like lime or gypsum, which improve soil structure over time.
The key is matching the source to your plants' needs and your garden's conditions.
| Source | Type | Best For | Application Rate | Frequency |
|---|---|---|---|---|
| Crushed Eggshells | Organic | Containers & In-Ground | 1 cup per plant | Monthly (bake & crush) |
| Calcium Nitrate | Fast-Acting | Foliar Spray or Soil | 1 tbsp per gallon water | Every 2 weeks |
| Epsom Salt | Quick Fix | Containers & Potted Plants | 1 tbsp per gallon | Weekly (foliar spray) |
| Gypsum | Soil Amendment | In-Ground Gardens | 2 lbs per 100 sq ft | Once per season |
| Lime | Long-Term | Acidic Soils | 5 lbs per 100 sq ft | Every 2-3 years |
For immediate results, I recommend starting with calcium nitrate or Epsom salt—both dissolve quickly and are absorbed fast. Mix 1 tablespoon of calcium nitrate into a gallon of water and apply it directly to the soil or use it as a foliar spray.
You’ll see improvements in 3-5 days, especially if your plants are already showing early signs of blossom end rot.
If you’re dealing with container-grown tomatoes, crushed eggshells are a fantastic organic option. Bake eggshells at 200°F for 10 minutes to kill bacteria, crush them into a fine powder, and sprinkle around the base of your plants.
This method also improves soil structure over time, making it a dual-purpose solution.
For in-ground gardens, focus on gypsum or lime for long-term calcium benefits. Gypsum is especially useful if your soil is compacted, as it improves drainage while adding calcium. Work it into the top 6 inches of soil before planting or in early spring.
Lime, on the other hand, is best for acidic soils (pH below 6.5) and should be applied in early fall or winter for best results.
Timing matters too! Apply quick fixes during active growing seasons (spring to early fall) when your tomatoes are flowering and fruiting. For soil amendments, plan ahead—gypsum and lime work best when worked into the soil 2-3 months before planting to allow time for integration.