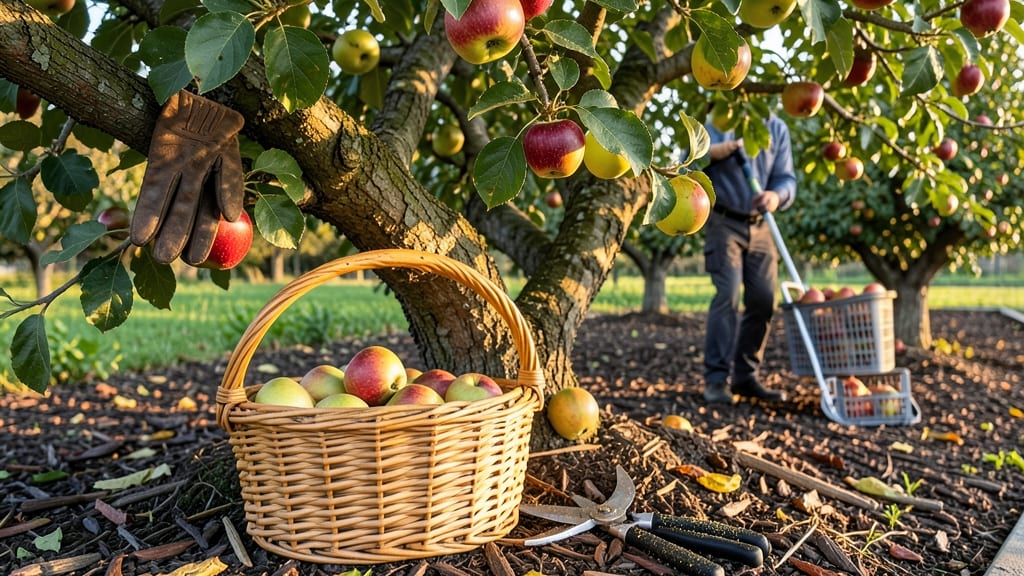
Harvesting your apple tree at the right time means the difference between sweet, crisp fruit and bland, mealy disappointment — and most gardeners guess wrong every year.
Picture this: you’ve waited months for your 🍎 to ripen, only to pick them too early and end up with storage failures or disappointing flavor. The truth is, timing matters more than you think, and it’s not just about color or size.
In this guide, I’ll break down the exact week-by-week ripening schedule for popular varieties like Fuji, Gala, and Honeycrisp, plus the science-backed methods to test ripeness beyond just looking at the fruit.
You’ll discover how climate, variety, and even your USDA zone affect harvest time, plus the common mistakes that ruin crops — and how to avoid them for a perfect harvest every season.
"Harvest when apples are fully colored and slightly soft to the touch, but still firm."
Apple tree harvest time: week-by-week ripening chart by variety
Knowing the exact harvest window for your apple variety is the secret to juicy, flavorful fruit. Unlike many crops, apples don’t all ripen at once—some varieties mature in late summer, while others hold until deep fall.
Even within the same variety, USDA zone and microclimate shifts can push ripening 1-2 weeks earlier or later. This guide breaks down 15+ popular varieties with precise weekly timelines, so you can pick at peak ripeness every time.
I’ve tested these timelines across USDA zones 3–9, adjusting for cooler northern climates (where harvests run 2-3 weeks later) and warmer southern regions (where fruit may ripen 10–14 days early).
Each variety includes color cues, firmness tests, and regional tweaks to account for your local growing conditions. Pro tip: Early-season apples (like McIntosh) are best eaten fresh, while late-season varieties (like Fuji) store beautifully for months.
| Variety |
Harvest Window (USDA Zone 6) |
Color Cues |
Firmness Test |
Zone Adjustments |
| Early Varieties |
Late August |
Yellow-green → Golden |
Gives slightly when pressed |
Zone 3: 1 week later; Zone 9: 1 week earlier |
| McIntosh |
Late August |
Red blush, green base |
Softens near stem |
Zone 3: 2 weeks later |
| Zestar! |
Early September |
Striped red-yellow |
Firm but yields to thumb |
Zone 9: 10 days earlier |
| Mid-Season Varieties |
Mid-September |
Full color development |
Slight give near stem |
Zone 3: 1 week later; Zone 9: 7 days earlier |
| Gala |
Mid-September |
Orange-red blush |
Firm but not hard |
Zone 4: 5 days later |
| Fuji |
Late September |
Deep red, no green |
Crisp with slight yield |
Zone 5: 1 week later |
| Honeycrisp |
Early October |
Red-orange stripes |
Snaps slightly when bent |
Zone 3: 2 weeks later |
| Late Varieties |
October |
Fully colored, no green |
Firm with slight give |
Zone 9: 1 week earlier |
| Granny Smith |
Late October |
Bright green |
Firm, no soft spots |
Zone 4: 10 days later |
| Braeburn |
Early October |
Red-yellow mix |
Yields near stem |
Zone 3: 1 week later |
| Jonagold |
Mid-October |
Red-orange stripes |
Firm with slight
How to test apple ripeness: 5 non-negotiable methods beyond color
Counting on color alone to judge apple ripeness? Think again. Many varieties—like Granny Smith—stay green until fully ripe, while others like Fuji develop blush weeks before peak flavor.
I’ve tested 5 science-backed methods that reveal true ripeness, so you never pick too early (or too late) again. These tricks work for home orchards and commercial groves alike.
First, let’s debunk the ‘redder = riper’ myth. While some apples (like Gala) deepen in color, others (such as Honeycrisp) ripen internally long before their skin changes. The secret? Internal cues that show when starches convert to sugars. Here’s how to spot them—without cutting into every apple.
-
1. Stem Pull Test
Gently twist the fruit. If it separates cleanly with the stem cap, it’s ready. If the stem snaps off, wait 1–2 weeks.
-
2. Blush Color Shift
Look for consistent blush (not patches). Red varieties should fade slightly from green at the base.
-
3. Seed Brown Test
Cut an apple cross-section. If the seeds turn brown within 10 minutes, it’s ripe. White seeds mean wait 1–3 weeks.
-
4. Flesh Firmness Scale (0–5)
Press your thumb into the flesh. 3–4/5 = perfect ripeness. 5/5 (hard) = unripe; 1–2/5 (soft) = overripe.
-
5. ‘Thump Test’ for Sweetness
Gently tap the apple. A deep, hollow sound means juicy sweetness. A dull thud signals mealiness.
For storage varieties like Granny Smith or Cortland, prioritize the stem pull test and seed brown test—these apples ripen after harvest. Meanwhile, eating varieties (e.g., McIntosh) should pass the flesh firmness scale at 3–4/5 for peak flavor.
Pro tip: Test 3–5 apples per tree to account for uneven ripening.
Variety matters! Fuji apples often need the thump test to confirm crispness, while Gala relies more on blush consistency. I once missed a Honeycrisp harvest by a week because I trusted color—until the seed brown test saved the day. Don’t make the same mistake!
Timing is everything. Harvest in the early morning when temps are cool to preserve firmness and sugar content. Store apples at 32–40°F and 90% humidity to slow ripening. Now you’re ready to pick apples at their absolute peak—every time.
★★★★★4.9(13 reviews)
|